Are you curious about Luma AI but feeling a bit overwhelmed by the tech jargon? Whether you're a 3D enthusiast, a beginner, or just someone looking to explore AI-powered creations, you’ve come to the right place. This guide is structured to make learning Luma AI enjoyable, beginner-friendly, and straightforward. Let's take the confusion out of the process and kickstart your creative adventure.
By the end of this guide, you'll know how to use Luma AI for tasks like creating stunning 3D models, NeRF scenes, and enhancing your media with object removal—all without needing prior technical expertise.
To begin your 3D creation adventure with Luma AI, the first step is setting up an account. It’s a simple process. Head over to the Luma AI website or app to get started. You can sign up using your email, or simplify the process by linking your Google or Apple account. During setup, you’ll also discover tools like the Dream Machine, which lets you turn text or images into amazing videos in moments. No need to stress over picking the perfect options upfront, as you can always tweak them later. Once your account is ready, you’re all set to explore the possibilities Luma AI offers!
After logging in, you’ll be greeted by the Luma AI dashboard, your central hub for all things creative. It’s where you’ll upload photos, kickstart projects, and edit your 3D creations. At first glance, the dashboard might feel a little overwhelming, with its various buttons and menus. But don’t worry; everything is designed for intuitive use.
The dashboard features clearly labeled sections for uploading, editing, and managing projects, as well as a navigation bar to access tools like 3D Capture and Object Removal. Tooltips appear when you hover over icons, making it easier to learn their functions quickly. Spend a little time clicking around to familiarize yourself with the layout, and you’ll find it becomes second nature in no time.
Luma AI stands out in the world of 3D creation thanks to its cutting-edge features that simplify complex processes while delivering exceptional results. Here’s what sets these tools apart:
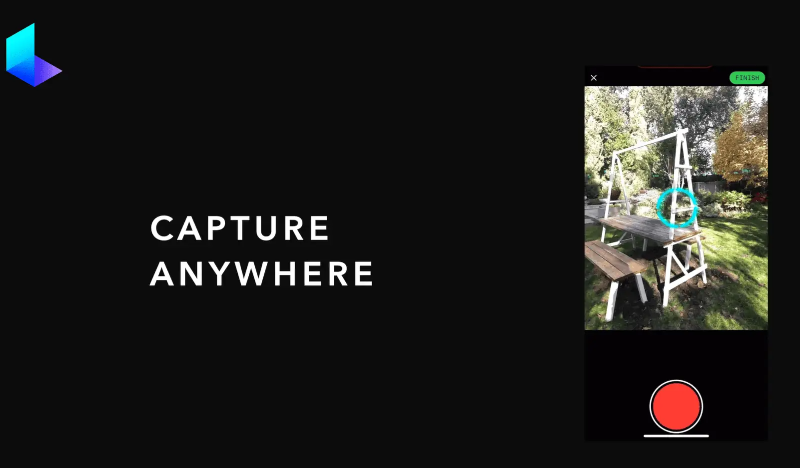
3D Capture: Luma AI lets you transform ordinary photographs into impressive 3D models. Whether you’re using a smartphone or a camera, simply take pictures of an object from different angles, upload them to the platform, and watch as it generates a highly detailed 3D model. Even without fancy equipment, you’ll be surprised at how professional your results look.
NeRF Rendering: Short for Neural Radiance Field, NeRF Rendering is a remarkable tool for creating incredibly lifelike scenes from photo collections. This feature captures intricate details like textures, shadows, and lighting, making your 3D scenes true to life. Despite its technical nature, Luma AI has made it accessible even for newcomers, handling the complex work behind the scenes.
Object Removal: Clean up your photos easily with Luma AI’s Object Removal tool. If something unwanted snuck into your shot, highlight the object, and the software will remove it seamlessly, leaving no trace behind. It’s a professional editing tool available at your fingertips.
Beyond these standout features, Luma AI also integrates effortlessly with other tools like Blender or Unity, expanding your creative possibilities. You can take your models and designs further into animation, game design, or specialized editing.
Also Read: Luma AI Review: Is it the Future of AI Product Photography? >>
Luma AI makes turning simple photos into detailed 3D models not only possible but incredibly easy. Whether you’re a beginner or a seasoned pro, these steps will help you get the most out of Luma AI’s 3D Capture feature and bring your creative ideas to life.
The foundation of any great 3D model begins with high-quality photos. A little preparation goes a long way to ensure your model comes out looking sharp and realistic.
Once you’ve taken your photos, it’s time to upload them to Luma AI and watch the magic happen.
Once Luma AI generates your 3D model, the real fun begins! This is your opportunity to tweak and refine your creation until it looks just the way you want.
Once your model looks just the way you envisioned, it’s time to share it with the world or put it to practical use. Luma AI makes exporting effortless.
Luma AI makes every step of 3D capture seamless, allowing you to create, refine, and share your ideas swiftly. Whether it’s for creative expression or practical use, this tool empowers you to achieve high-quality results without any hassle.
Also Read: Top 8 Luma AI Alternatives for This Year (Free & Paid Options) >>
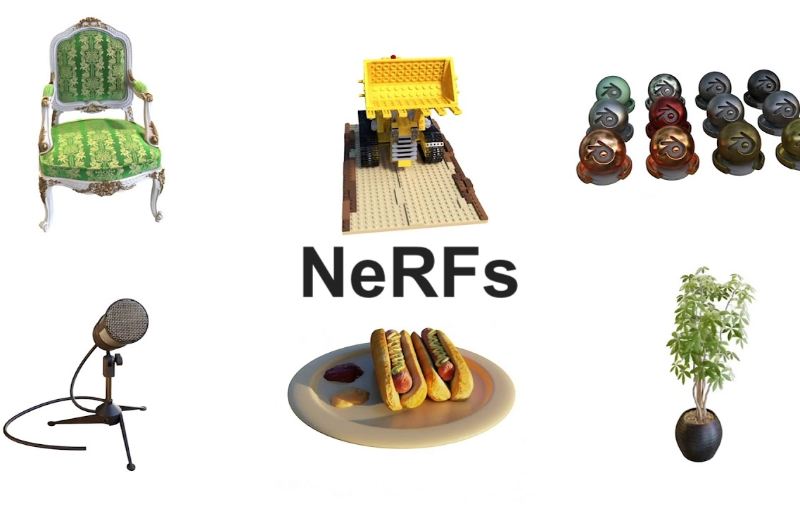
NeRF Rendering works by analyzing the light present in multiple images and building a 3D environment that replicates how light interacts with objects. This creates a sense of depth, dimension, and realism that feels almost lifelike. It’s perfect for creating immersive virtual tours, visually stunning animations, or realistic digital recreations of spaces and objects.
The first step to creating a NeRF scene is capturing high-quality images from as many perspectives as possible. The more photo data you provide, the more accurate and detailed your 3D scene will be. Here’s how you can optimize your image capture process:
Once you’ve captured your images, uploading and processing with Luma AI is straightforward and efficient.

Luma AI makes removing unwanted objects from your images or videos simple and effective. With its advanced tools, you can clean up your visuals effortlessly and achieve perfect results every time. Here’s how you can make the most of the Object Removal feature.
To start, open the Luma AI platform and locate the "Object Removal" tool. It’s easy to find within the tools menu. Once you spot it, click to activate it and get ready to transform your images or videos.
Next, identify the items you want to remove. Use your mouse or touch controls to draw a precise circle or outline around the unwanted object. Luma AI’s intuitive interface ensures accuracy, so it knows exactly what to erase. If there are multiple objects, no problem! Mark as many as you need in a single session. This flexibility makes it a perfect solution for batch edits.
Once you’ve marked the object, Luma AI uses its powerful algorithms to remove it seamlessly, blending the area with its surroundings. While the software often gets it right on the first try, you can use the "Refine" tool to touch up areas or smooth out any imperfections. This tool ensures polished results, whether you’re working on images or videos.
When your edits look flawless, it’s time to save. Luma AI offers multiple saving options, including popular file formats like JPEG and PNG for images. If working in 3D, you can export your results as Gaussian Splats, making them compatible with other 3D applications.
Also Read: Luma AI vs Pika: Which AI Video Tool is Right for You? >>
1. What do I need to use Luma AI?
A smartphone or camera is enough to get started—no costly equipment is needed.
2. Can I collaborate with others?
Yes! Share your projects and work collaboratively through Luma AI’s interface.
3. Is Luma AI free to use?
You can try Luma AI’s free tools or upgrade to premium plans for full access to advanced features.
With Luma AI, creating stunning 3D visuals has never been so accessible. From beginners experimenting with 3D captures to professionals crafting immersive NeRF scenes, the possibilities are endless. Why wait? Turn your creative vision into reality. Start exploring how to use Luma AI today and see how this year becomes your most innovative year yet!